Custom Pins on Bing Maps with an Image Frame
On a recent project developing a friend tracking application for BlackBerry 10, I used Bing Maps for showing the locations of people in the contact list because Google Maps did not work on the device. The Bing Maps API has less community support and example code compared to Google Maps. This tutorial explains how to customize a pin in Bing Maps. The goal is to display an arrow pointing to a specific location with a profile picture and the name of the person above it. This is accomplished by using the API where possible with the addition of CSS and images to fill the gap.
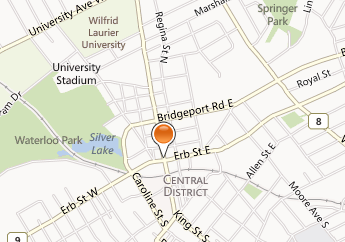
To create a PushPin, Location and PushpinOptions objects are passed as arguments.
the default PushPin
When initializing the PushpinOptions object, the relevant options for positioning and displaying the text are text and textOffset.
text: "My Name",
textOffset: new Microsoft.Maps.Point(-12, 10),
typeName: 'blackText',
width: 128
});
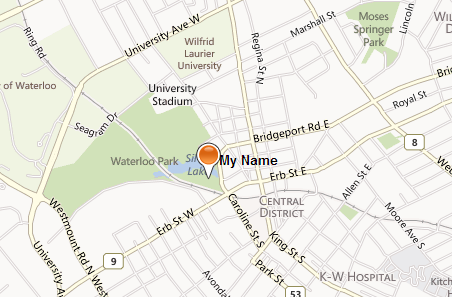
In order to display the text label so that the letters appear on a single line, it is necessary to make the div wider by adjusting width. Note that setting the width has shifted the pin, which will be readjusted later. The textOffset option sets the amount the text is shifted from the PushPin icon. By default, the Bing Maps uses a white text label. It can be changed by setting its CSS class using the typeName option. Here, we set the typeName to “blackText”.
color: black !important;
}
Bing Maps allows the pin to be replaced with an icon, but there is no API for overlaying an image on a pin.
text: "My Name",
width: 128,
textOffset: new Microsoft.Maps.Point(-12, 10),
typeName: 'blackText',
icon: "images/Map_pin2.png",
height:128
});
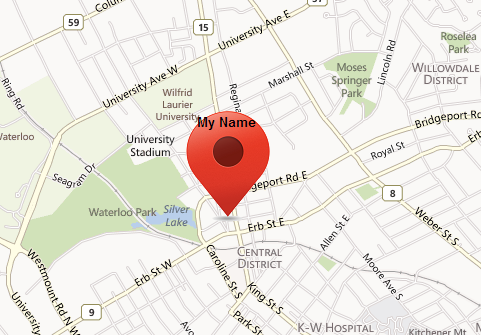
However, the goal is to display a dynamic profile picture with a pin below it. The solution is to use the same approach for setting the label color. I inspected the HTML elements with jQuery on $(‘.blackText’). This is a useful technique when the HTML element cannot be located with the mouse cursor in Chrome developer tools or FireBug.
<img src="images/Map_pin2.png">
<div style="position: absolute; text-align: center; width: 100%; font-weight: bold; font-style: normal; font-variant: normal; font-size: 10pt; line-height: normal; font-family: Arial, Helvetica, sans-serif; color: rgb(255, 255, 255); left: -12px; top: 10px;">My Name</div>
</a>
Since blackText is an anchor tag, it is possible to insert a background image for it:
background-image: url("images/Map_pin2.png");
background-repeat: no-repeat;
}
and replace the pin image in the API call with the profile picture:
text: "My Name",
width: 128,
textOffset: new Microsoft.Maps.Point(-12, 10),
typeName: 'blackText',
icon: "http://placekitten.com/80/80",
height:128
});
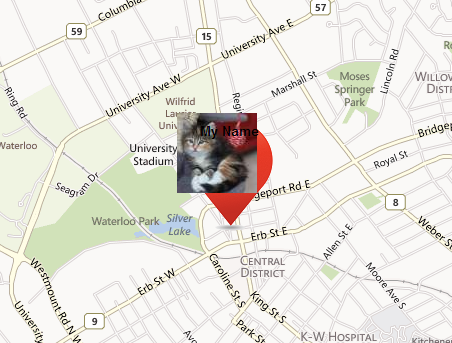
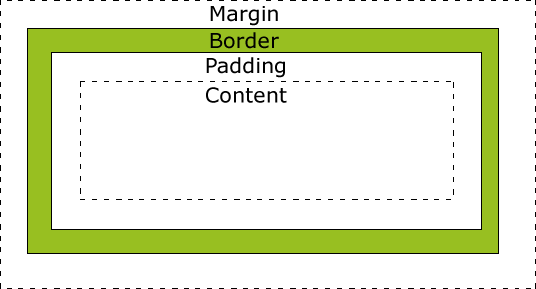
The next step is to reposition the image and the label. Since the CSS border width can push the content in the CSS box model, the border width should be set before adjusting margins and padding.
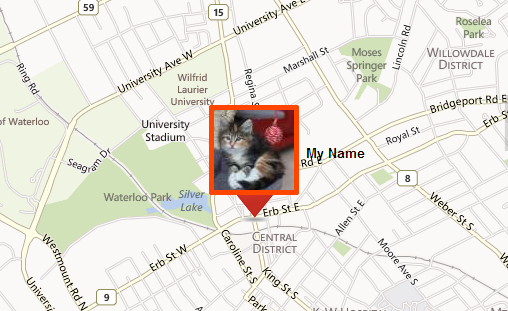
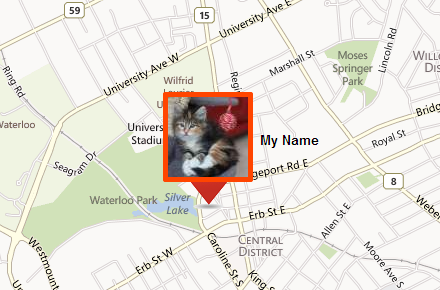
I added an orange frame around the profile image to make it fit with the pin.The background color shows through the padding, with the margin adjustment pushing the image to the right.
margin-left: 8px;
margin-top: 0px;
padding:5px;
background-color:#ff4500;
-webkit-border-radius: 2px;
}
var pin = new Microsoft.Maps.Pushpin(new Microsoft.Maps.Location(lat, lon), {
text: "My Name",
width: 168,
textOffset: new Microsoft.Maps.Point(50, imageHeight/2),
typeName: 'blackText',
icon: "http://placekitten.com/80/80",
height:128
});
As a bonus, why not add a pink double border? Simply override the default image border with a higher priority rule.
margin-left: 2px;
margin-top: 0px;
padding:5px;
border:3px solid #ffb6c1 !important;
background-color:#ff4500;
-webkit-border-radius: 2px;
}
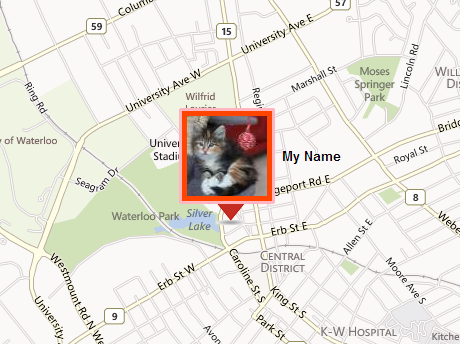
Finally, the pin needs to be repositioned over its original location. The anchor option sets the (x, y) offset of the pin relative to the width and height.
text: "My Name",
width: 168,
textOffset: new Microsoft.Maps.Point(50, imageHeight/2),
typeName: 'blackText',
icon: "http://placekitten.com/80/80",
anchor: new Microsoft.Maps.Point(52,112),
height:128
});
